19 | LIGHTING PROJECT

A simple and innovative system for an installation without cracks, designed exclusively by Geopietra®.
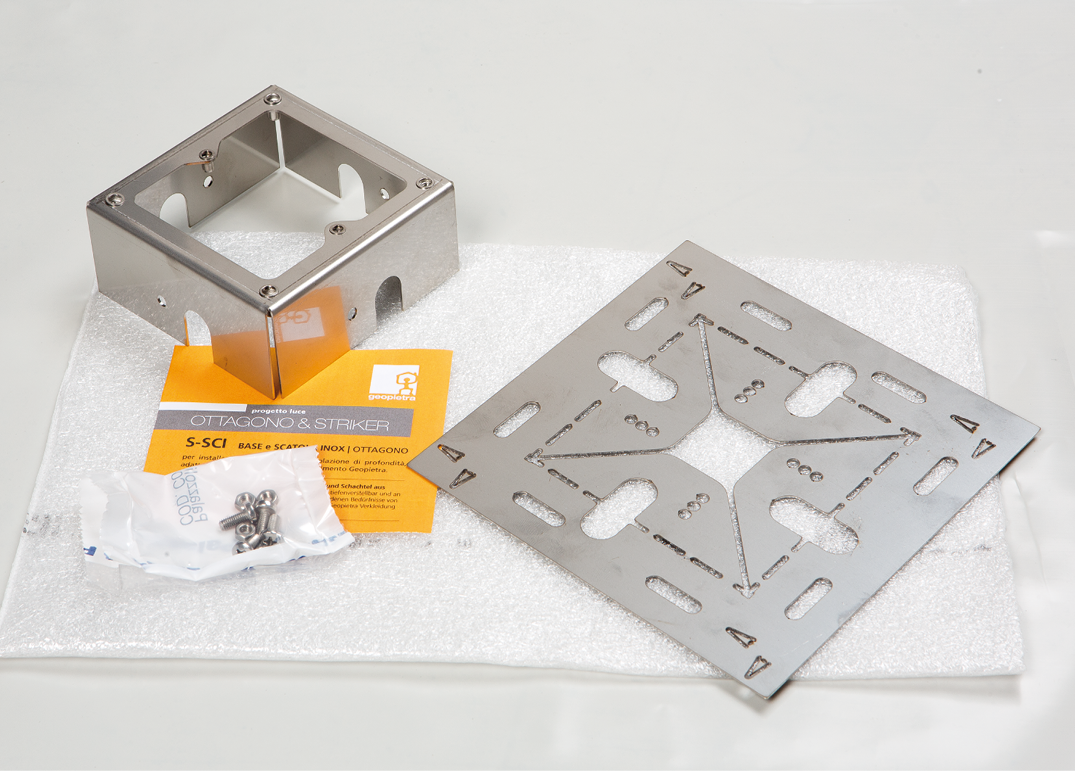
S-SCI FRAME and CASE in STAINLESS STEEL
for wall installation on stone edge the depth of which can be adjusted to fit different Geopietra veneer thickness* requirements.
*The depth of the box in stainless steel can suit the various thicknesses of Geopietra stones but not that of Terrakotta bricks.
Thanks to the new system Geopietra, OTTAGONO, STRIKER and CAPRI can be integrated onto murogeopietra of traditional masonry or external thermal insulation without anchors and cracks, eliminating any problem of thermal bridge and giving maximum freedom of design.
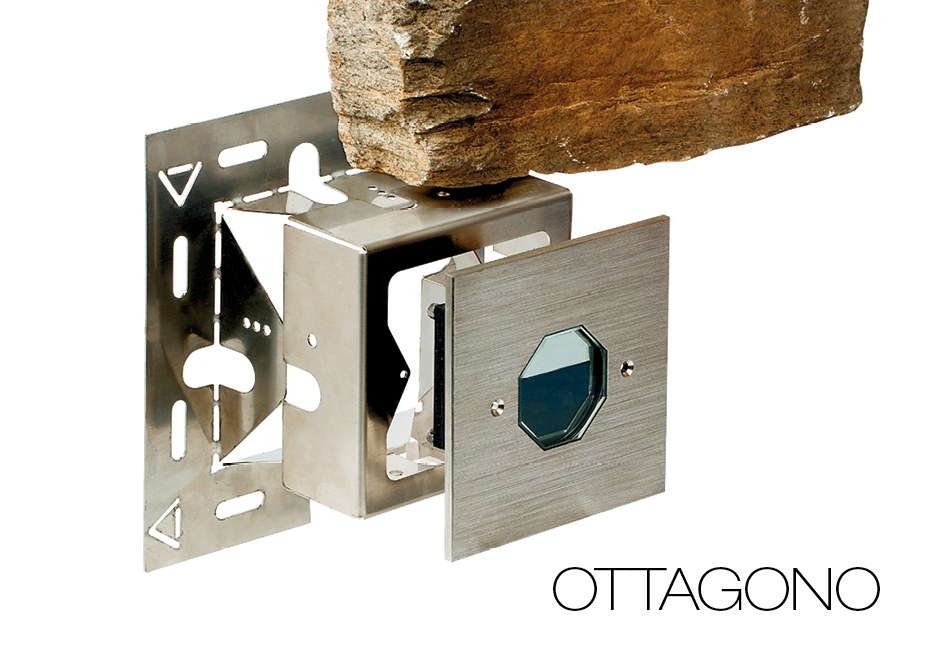
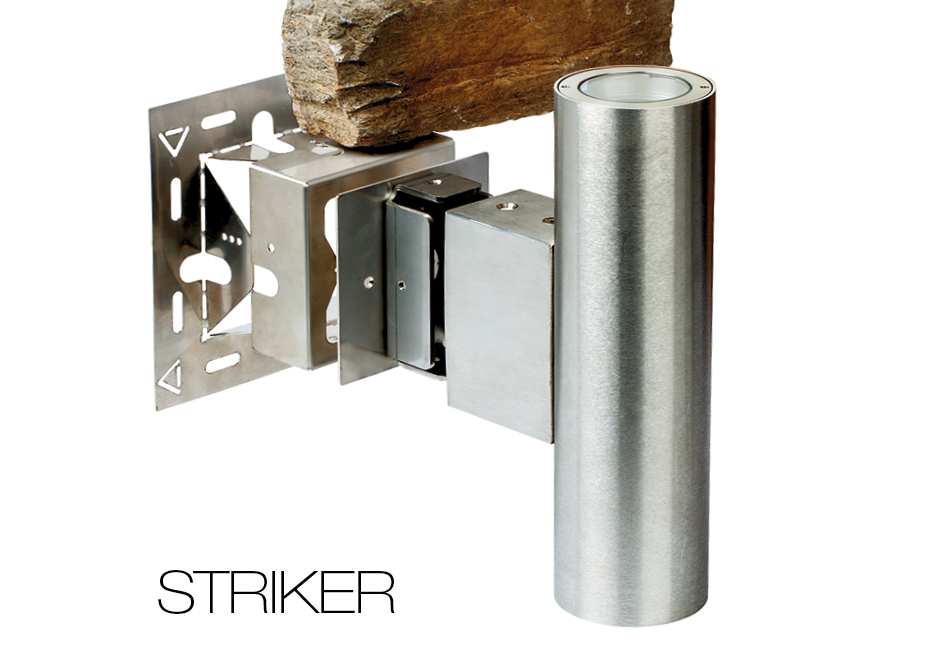
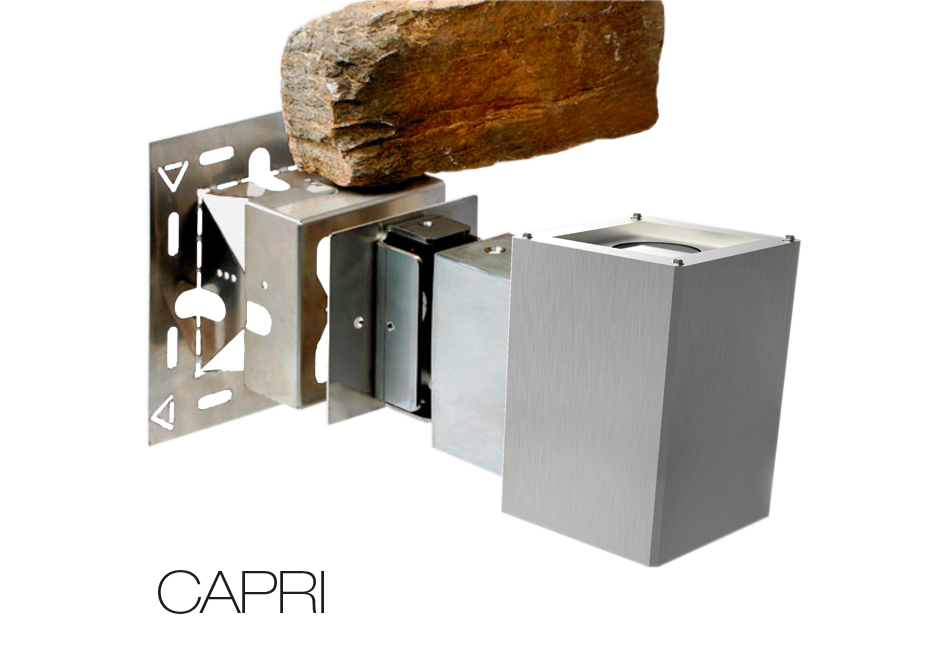
The FRAME and CASE are made of STAINLESS STEEL with depth adjustment for wall stone-flush installation of OTTAGONO, STRIKER and CAPRI lighting fixtures.
1.The FRAME consists of a pre-cut steel plate with four central wings that are bent at an angle of 90° to provide support for the CASE. In order to understand the exact bending side, move the FRAME closer to the CASE so as to align the holes receiving the screws for joining the two parts together.

2.When the correct side has been verified, bend the four wings to form a right angle with the base.

3./4./5. Of the 3 holes in the base, choose the one with the desired height according to the Geopietra stone veneer thickness. Insert the CASE on the inclined FRAME and lock it into position with the 4 screws supplied.


6./7./8. To prevent any residues of Geocoll adhesive and GeoBi grouting mortar from soiling the casing or clogging the threaded holes, protect the CASE with paper tape prior to installation.


9./10./11. Mark on the wall the exact position of the light source, taking into account horizontal and vertical alignment. Mark the perimeter of the FRAME.


12. Use Geocoll adhesive of a suitable density (the same as that used to install Geopietra stone veneer) to ensure perfect adhesion to the wall at the FRAME supporting points. Leave at least two reference marks visible, which will serve as a track to maintain the horizontal alignment of the FRAME.

13./14./15. Use Geocoll adhesive of a suitable density (the same as that used to install Geopietra stone veneer) to ensure perfect adhesion to the wall at the FRAME supporting points. Leave at least two reference marks visible, which will serve as a track to maintain the horizontal alignment of the FRAME.


16./17./18. Use a 10mm diameter sheathing to connect the various containers, possibly with a power cable or a small pulling iron wire already inserted, and fix it to the base using Geocoll adhesive. The light sources can be mounted in series and any transformers can be housed in a separate suitable slot.


19./20. Cover the FRAME wings with Geopietra stone veneer and lock it firmly into position. Choose the lowest stone units to coat the sheath for a harmonious, smooth finish effect.


21./22./23./24. Apply GeoBi mortar for grouting and when the mortar has set, use a cutter to cut the paper tape flush to the grouting and uncover the edges of the CASE.


25. When the electrical connections have been completed, you can mount the OTTAGONO, STRIKER or CAPRI fixtures, as required.

